Unmounting Stamps

I took to unmounting about 120 wood block stamps recently in order to save space in storage.

First, I did a lot of research about unmounting these stamps. I was worried that by taking them off the blocks I’d ruin them, so I started with a few smaller stamps.

It was relatively easy to pull off the stamp, and those that weren’t I put in the microwave for about 8 seconds. After I tried the microwave trick I wish I’d done more like that, by the end of the day my fingertips were sore.

I tried to keep the sticker from the front of the stamp, so it’d be easy to see what each stamp was. If the sticker came off easily I placed it on the rubber stamp and cut around the edges. Those that I couldn’t get off, or didn’t have a sticker, I’ll mark later in the cases. I decided to store my stamps in CD cases.

Stamps with glue

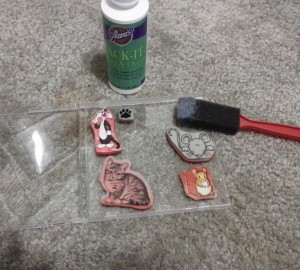
I used Aileen’s Tack it over and over again to make the back of the stamps sticky. (My research said this was the best stuff to use). I brushed on a small amount of glue and let it dry over night. This process was a little sticky! (I also found I could use this glue to refurbish my Cricut mat!)

I decided not to put mounting rubber on the back of the stamps that had permanent sticky on one side (for the stamp) and temporary sticky for the side that goes on the acrylic block, mainly because it would have been really expensive.

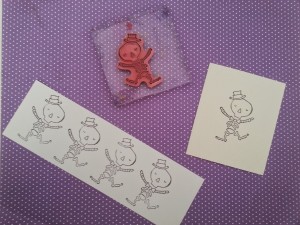
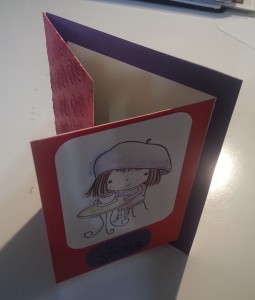
After a night to dry I used the stamps on acrylic blocks!

Unmounted Stamp

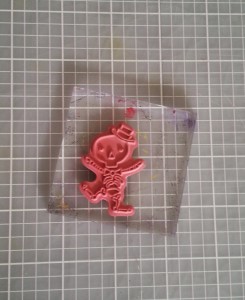
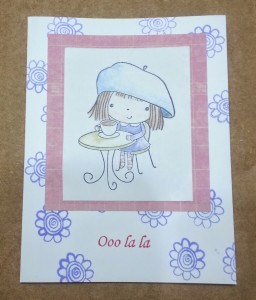
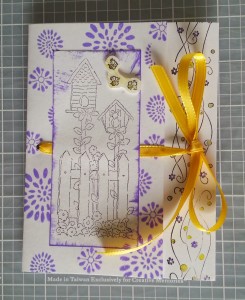
I tried out the stamps and they work great!

Unmouted Stamp Image


Scrapbook with Pockets

I generally put all my finished scrapbook sheets under protective pages in a book. This prevents me from having a “smash book” type scrapbook, but I like knowing all the pages are well protected.

For this page I had a lot of news articles that I wanted to save in my college book, so I created my own pocket to store them in.

UK In The News

Zombies 2013

I have finished my second “Adventure” scrapbook! I was getting so many pages that the end of 2014 was a good breaking point.  I also needed to close out a book since I have my UK Rifle, 2nd Adventures and a Disney book all scattered in the craft room. 2015 will start a new book!

Zombies in the Heartland 2013

A page from my second “Adventures” scrapbook

New Toys from Christmas

I got so many new crafting toys for Christmas- pressure embossing folders, heat embossing powder and a Sew-Easy tool, to name a few- that I wanted to share some of the new techniques I’ve learned to do.

First is pressure embossing.

Embossed Blocks Card


This card shows several of the embossing folders (designs) I received. I love this new tool as it makes cards look so elegant.

Heat Embossing

I’ve played with this a little bit before, but now I have several colored powders I can use.

Heat and Pressure Embossed Snowflakes

This card has a pressure embossed background and heat embossed snow flakes using gold powder.

Sew-Easy

I may have bought this gift for myself… but it was on clearance! The tool punctures the holes into paper so you can thread floss through it. It makes several different patterns as well.

Sew Easy Header


This embellishment on a scrapbook page also uses my Inkadinkado which stamps around a pivot point in a circle. It comes with stamps that pattern well, but you could use any stamps with it.


Martha Stewart Doily’s

This tool works in a circle making different patterned doily’s on paper. You can make the doily’s anywhere between 6 and 12 inches.

Doily Love Card


Coloring in Stamped Images

While I was home over the holidays I went to Ben Franklin, this amazing craft store that has 2 whole rooms full of paper crafting things. They always have cards on display to showcase their stamps, which are flawlessly colored in. I usually avoid coloring in my stamped images because I can’t find the formula to make them look as good as the demo cards I see in stores. So I did some research and read a few tutorials about using paper stumps and tortillions. It wasn’t quite as easy as the videos make it seem, but for a first attempt I definitely love this look!

Colored Pencil Stamps

A stamped imaged colored in with colored pencils

Double Fold Card Front

A double folded card with a stamped image on the front

Double folded card from the top

Double folded card from the top

Tie Together Card

I guess I’ve been in a bit of a card making mood. Now that the craft room is more organized it’s easier to find things to create with! I made this tie together card using some of my (newly organized) stamps and ribbon.

Tied Together Card

Tied Together Card Inside

Cupcake Scrap Card

After my afternoon repurposing Christmas cards I started thinking how I could use more of the scraps (and some junk) I’ve been saving. So I made these little cupcake cards with the small paper scraps I’d been saving.

Cupcake Scrap Card